Accurate Determination of Finger and Ring Sizes
Considerations for Taking Accurate Measurements of a Finger or Ring

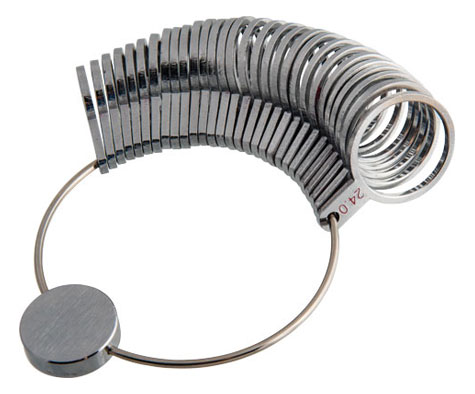
Tools to Determine Finger or Ring-Size Measurements
Tools that are used for accurately measuring finger or ring size
Potential Problems and Engineering Features
Avoiding problems by using the right tools and techniques to measure ring and finger size.

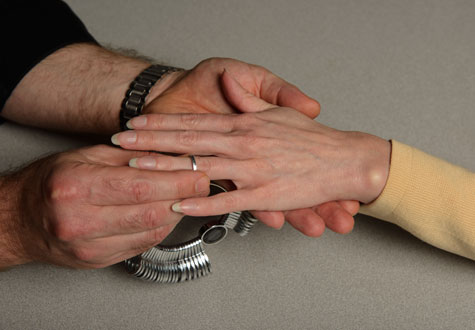
Measuring Finger Size
Techniques to Measure Finger Size
Best Practices for Determining Accurate Ring Sizes
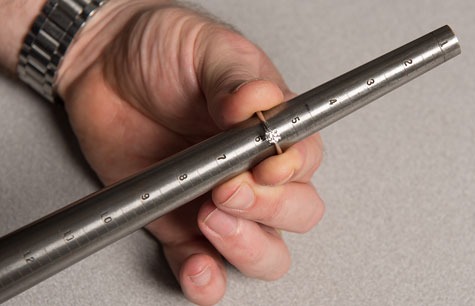
Techniques and Tools to Measure Ring Sizes
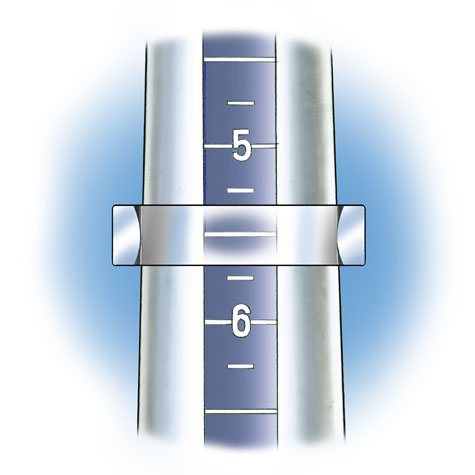
Standard Rings of Even Width
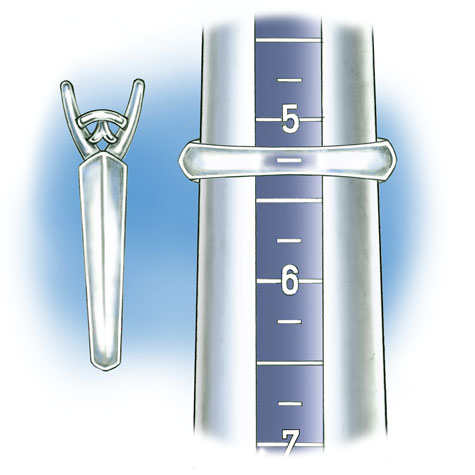
Tapered Rings
Wide Rings and Bands

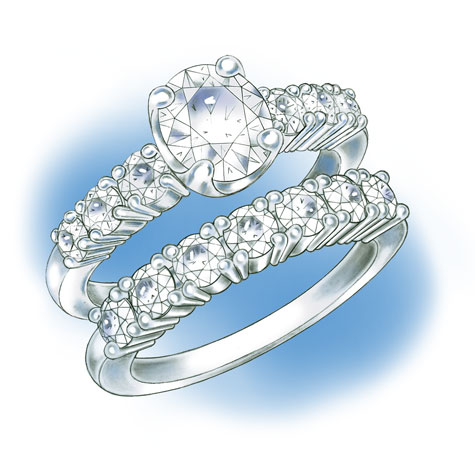
Bridal Sets
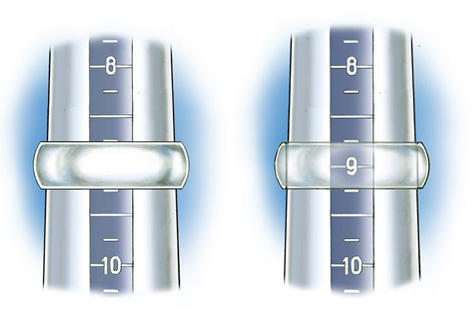
Convex Interior – Rings or Bands
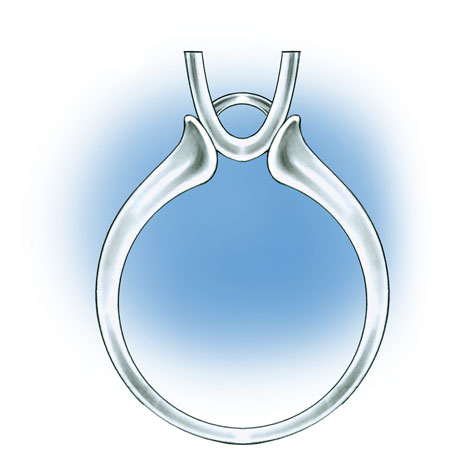
Rings with Open Space Above the Finger
Special Circumstances

International Ring Size Chart
Another way to measure a ring is to take a measurement of the inside and determine the finger size from a standard chart. The inside of the ring must be perfectly round for this to work.


